Install Email Parser .wsp – SharePoint Server (on-prem)
Install Konnect eMail Parser SharePoint Server (on-prem)
Konnect eMail Parser for SharePoint server (on-premises deployment) is available as a WSP solution and is deployed as a farm solution. The purpose of this SharePoint solution is to extract/parse emails header information and add it as metadata against the file for records classification.
Note:
- You will need to have farm access to the SharePoint server to install this solution.
- Perform the below steps on one of the APP or WFE server in the farm.
Step I – Add & Install the Solution to SharePoint
- Copy the SharePoint email parser solution (WSP file) to local disk on the server.
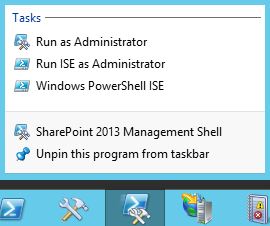
- Run “SharePoint Management Shell” as an administrator (elevated access).
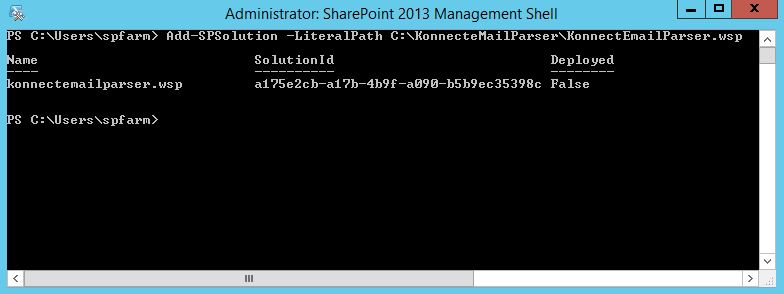
- Run the below command (without quotes) to add the solution; make sure to replace the path to the solution file.
- “Add-SPSolution -LiteralPath C:PATH-TO-FILEKonnectEmailParser.wsp”
- “Add-SPSolution -LiteralPath C:PATH-TO-FILEKonnectEmailParser.wsp”
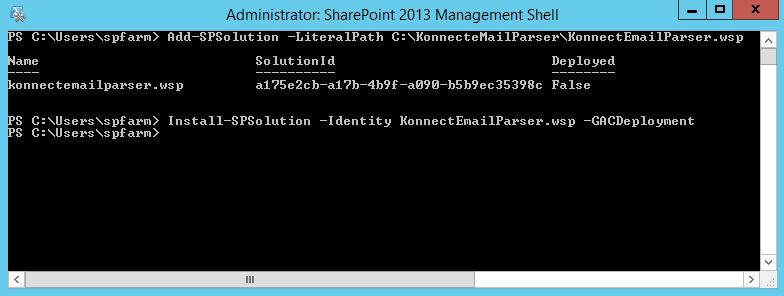
- Install the solution by running the below command (without quotes).
- “Install-SPSolution -Identity KonnectEmailParser.wsp -GACDeployment”
- “Install-SPSolution -Identity KonnectEmailParser.wsp -GACDeployment”
Note: the above steps need to be performed ONLY once per SharePoint farm.
Step II – Activate Web Feature
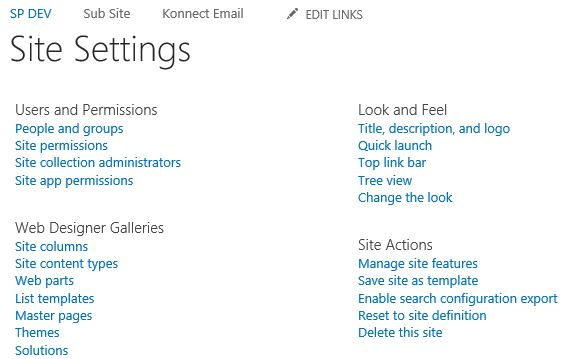
- Navigate to the “Site Settings” page of the SharePoint site.
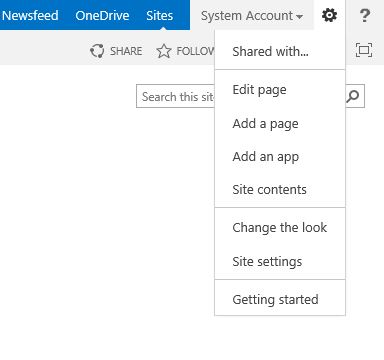
- Navigate to “Manage site features” link under “Site Actions” group.
- Activate the “KonnectEmailParser” feature by clicking on the “Activate” button
-
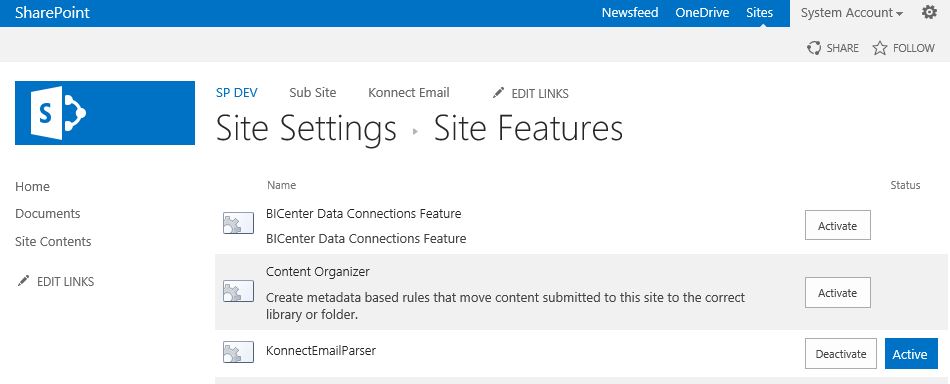
Note: the above steps need to be performed for each sub site you want to use the Email Parser feature with.
Step III – Add License Key & Create Site Columns
- Navigate to “Site Settings“. Under “Site Actions” click “Konnect eMail Settings“.

- Enter the License Key in the provided text box and click “Apply License Key“.
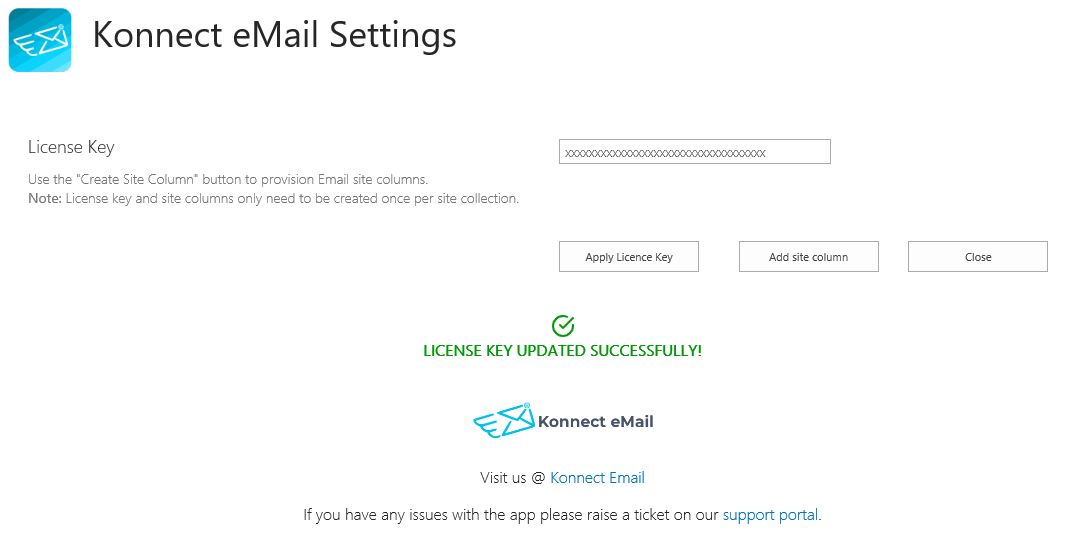
- Click “Create site column” to create the email metadata fields. These columns will be created at the root site and will be available for use within every sub site.
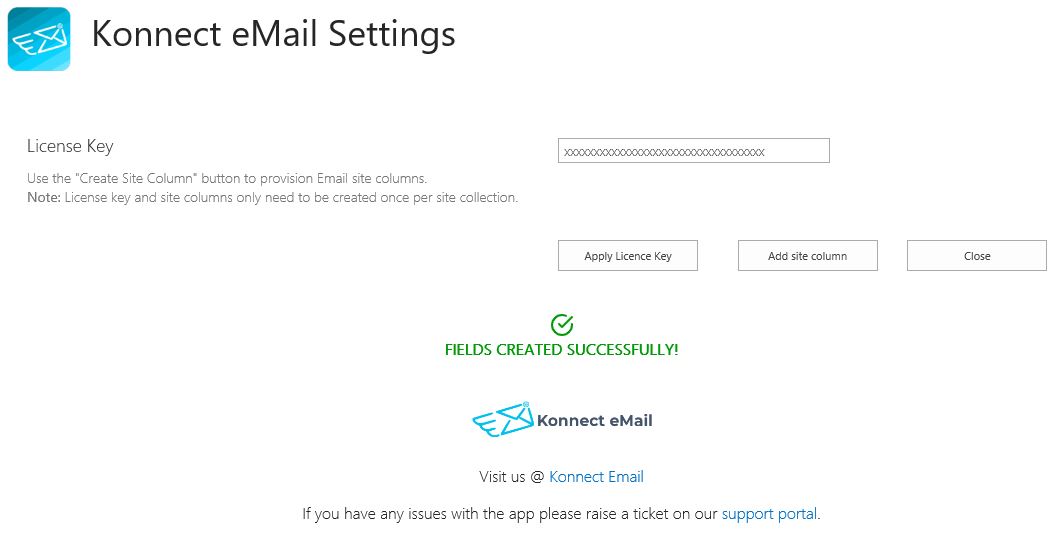
- Click “Close“.
Note: the above steps ONLY need to be performed once per site collection.
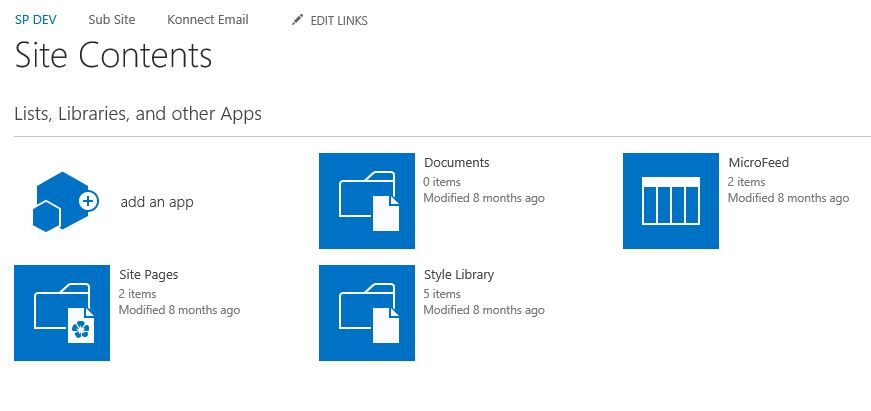
Step V – Create Document Library and Add Site Columns to it
- Navigate to “Site Contents” of the target site and create a “New” “Document Library“.
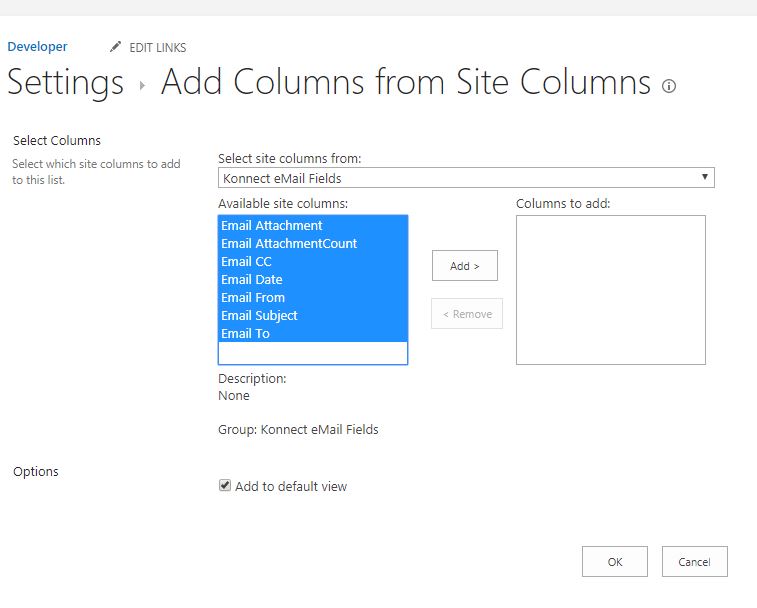
- Navigate to “Library Settings“; under Columns group click on “Add from existing site columns“.
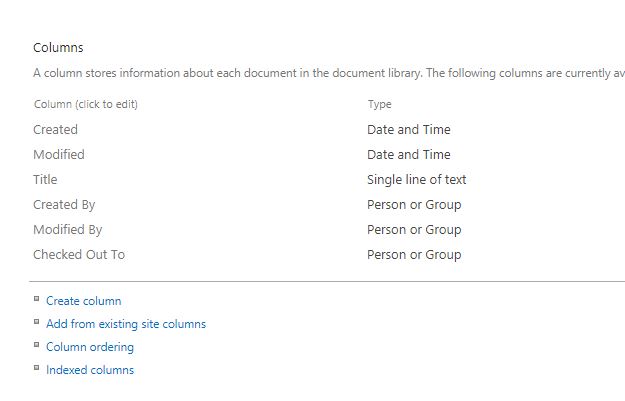
- Select “Konnect eMail Fields” from the “Select site columns from” drop down. Select all columns, click “Add” and hit “OK“.